You can install your own custom top sheets in about 20 minutes if you prefer not to hang out with us..or if you are the kind of person who really enjoys installing a phone screen protector. This will scratch that itch.
Supplies: Masking tape, scissors, razor blade
Start by cleaning your skis or snowboard to make sure the top sheet is free of residue. Gentle soap and water work great.
Preparation
• Clean the ski or snowboard surface thoroughly to remove dirt and wax.
• For skis: Cut the top sheet in half.
• For snowboards: Leave the top sheet in one piece.
You are going to apply your top sheet in 3 sections.
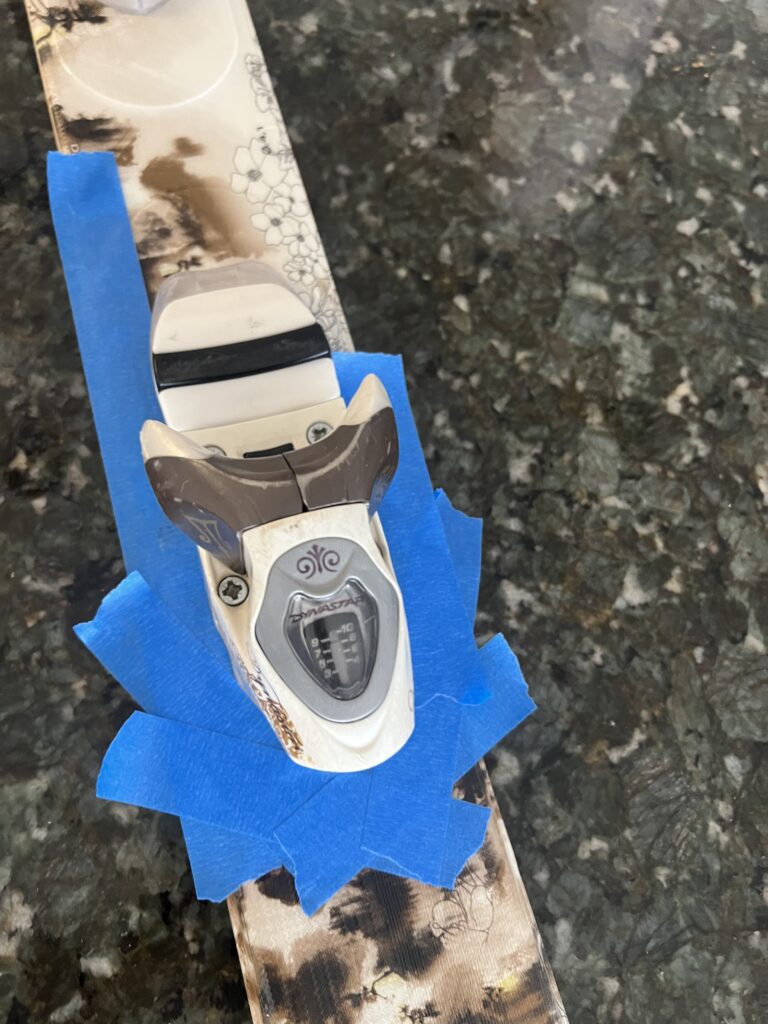
Creating the Stencil for the Toe Piece
1. Use masking tape to trace the front portion of the binding (about halfway down).
2. Place one piece of masking tape at a time until the binding outline is complete.
3. Carefully peel the tape off in one piece, keeping all sections connected.
4. Stick the tape stencil onto the back of the first top sheet piece (toe piece in front of binding).
5. Cut out the inner portion of the stencil to create a cutout for the binding.
Applying the Toe Piece
1. Peel back the sticker backing from the top sheet.
2. Align it around the binding but do not press down yet.
3. Once properly aligned, peel the rest of the backing and apply it, smoothing from the binding to the tip.
Creating & Applying the Middle and Tail Pieces
• Repeat the same stencil process for the middle and tail sections.
• Apply the middle piece between the bindings, ensuring proper alignment before pressing down.
• Apply the tail piece from behind the binding to the ski or snowboard’s end.
Final Trimming & Finishing Touches
• Use a razor blade to trim around the ski or snowboard’s metal edge after applying all pieces. This is easiest, if you turn your ski or board over.
Pro Tips
 Use a hair dryer on low heat to help smooth the edges. Use the corner of a razor blade to pop any air bubbles and press them down. Take your time aligning before pressing the sticker down for a clean finish.
Having any issues with install? Call our stay cool hotline and we will help! 303-483-3210.